
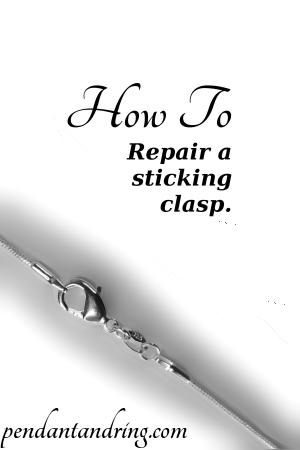
There are three main reasons why necklace clasps stick and one common reason they do not stay shut. Here are some quick and easy tips to help you repair your sticking clasp and get on with your day.
How To Clean a Clasp
If your chain clasp has fluff and stuff blocking the action of the internal hinge, you can fix it by removing the foreign matter. If sweater fluff is the culprit, use a safety pin to gently remove the fluff. Insert the safety pin into the back of the clasp where the clasp attaches to the chain. Push the fluff through the clasp and out the other side. It typically takes three sweeps with a safety pin to restore the clasp’s proper movement. To prevent the accumulation of sweater fluff, put on your necklace, then wrap the clasp with a small piece of clear tape. The tape serves as a barrier, protecting the clasp from anything that might accumulate in the clasp and prevent movement.
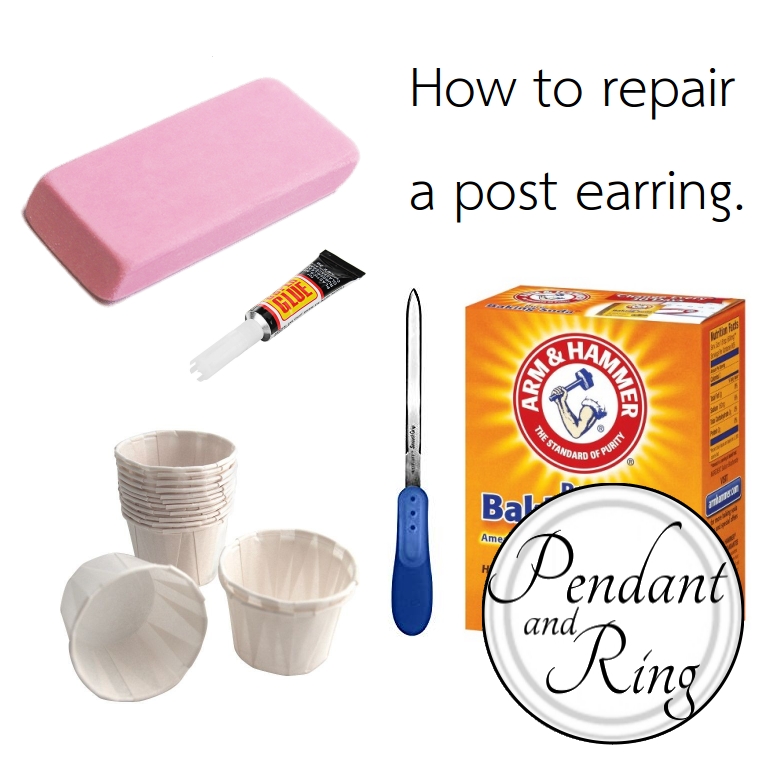
If a strand or two of hair has hopelessly tangled itself around the internal mechanisms of the clasp you can dissolve the hair with a drop of bleach. Remove what hair you can before bleaching. Use a small container, something like a medicine cup, or soda lid to help free the clasp. Set the clasp in the small container and place one drop of bleach on the mechanism, then set a timer for 10 minutes. When time is up get a pair of plastic gloves and check to see if the clasp is hair-free. If it is not, use a safety pin as described in step one to remove what remains of the tangled hair. To prevent future hair tangles, wrap the clasp with a small piece of clear tape after you put on your chain necklace. If the clasp is still stuck check the next tips.
How To Fix a Clasp
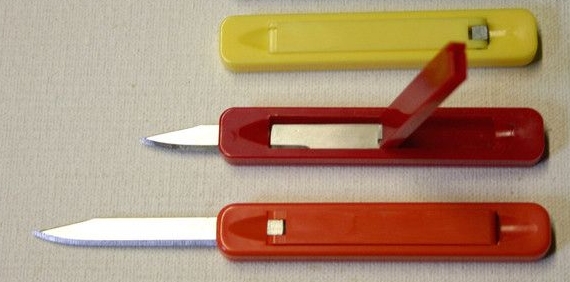
If your clasp looks fine, but will not open or close, get a pen knife. Really any small blade will do. Hold the clasp in your non-dominant hand. Use the knife with your dominant hand. Gently twist the knife to increase the distance between the top and bottom of the clasp. This will open the clasp, but too much twisting will break the clasp. Use caution. Open and close the clasp after each small adjustment to see if it is working properly. Go slowly and gently with this repair. Too much twisting will result in a clasp that opens on its own. The next tip will help fix a clasp that won’t stay shut.
How to fix a clasp that won’t close.
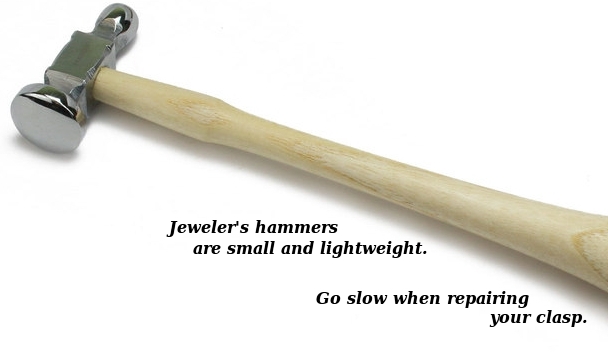
If the clasp will not stay shut, you can use a clamp, or small hammer to gently compress the clasp to reduce the distance between the top and bottom, or sides, of the clasp. Go slowly and gently with this repair. Too much clamping or hammering could break the clasp, or result in a stuck clasp. If your free-moving clasp is now stuck refer to the How To Fix a Clasp section, and be gentle, jewelry work requires a delicate touch.
Subscribe for more How-To articles and Jewelry News!
See you next time on Pendant and Ring.
Enjoy more How-To articles
with Pendant and Ring.


What do you think?